
A “Captive Portal” is a web-page that a user must view and interact with before being given access to a Wi-Fi network. “Captive Portal” is mainly used for authentication purposes and is usually used with free Wi-Fi “hot spots” such as those in business centres, airports, hotel lounges and coffee shops etc. This guide shows you how to set up a “Captive Portal” on a Siretta Industrial Router that has Wi-Fi functionality.
NOTE: Captive Portal on WLAN is only supported on Wi-Fi versions of Siretta routers.
The following products have been used to create this document:
• QUARTZ-W22-UMTS (EU) + ACCESSORIES
• PC connected to a local area network.
• SIM card
Configure the Siretta Router WLAN
1. Insert SIM card into the Siretta Industrial Router (Example below uses a QUARTZ-W22-UMTS (EU))
2. Enter the APN details as provided by the SIM card provider (You can follow the router Quick Start Guide for more assistance with this).
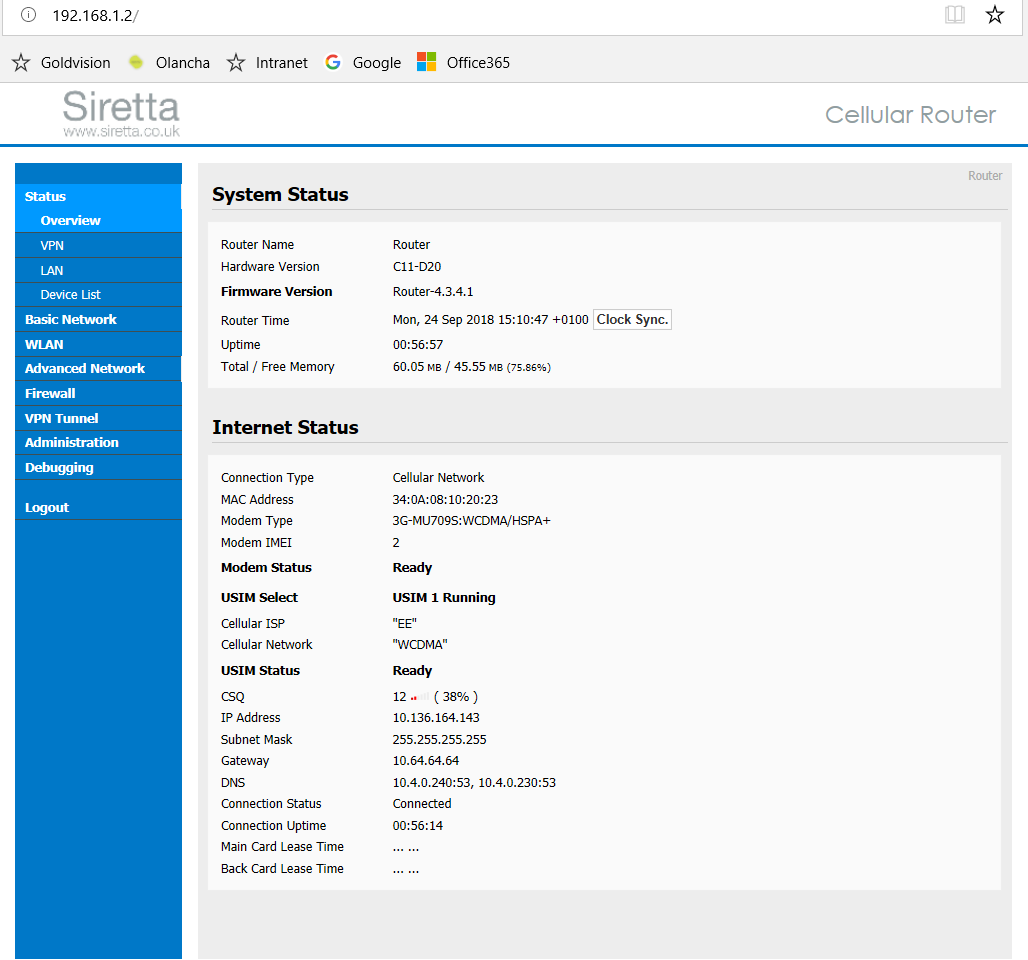
3. Once the Router is connected to the mobile network you will see the connected status on the router’s web interface (GUI) as seen below.
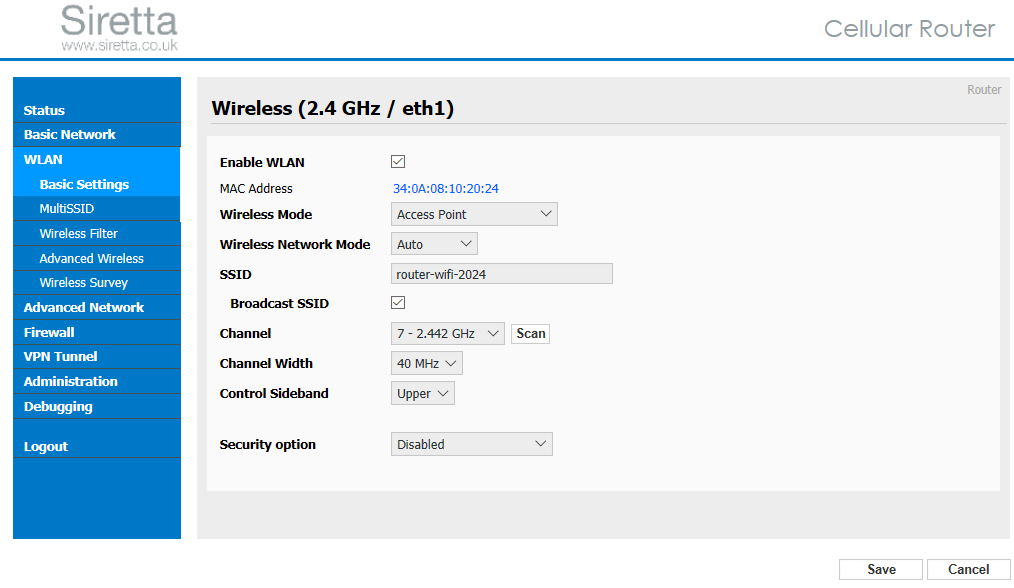
4. Navigate to ‘WLAN’ > ‘Basic Settings’ tab on the router webpage GUI.
5. Check the “Enable WLAN” box
6. Select Wireless Mode as ‘Access Point’
7. Select Wireless Network Mode as ‘Auto’
8. Provide the name of your chosen SSID
NOTE: This example uses ‘router-WiFi-2024’
9. Check the “Broadcast SSID” box
10. Select Security Option as ‘Disabled’
NOTE: This option should be configured for the network to provide enhanced security
Configure the Siretta Router Captive Portal
1. Navigate to ‘Advanced Network’ > ‘Captive Portal’ tab
2. Check the “Enabled” box
3. Leave Auth Type as default value ‘NONE’
4. Select WEB Root as ‘Default’
NOTE: There are several options to choose between. Default presents an internal image to the user. Internal storage allows custom images to be used from the Router’s internal memory and external storage allows custom images to be used from the Router’s external removable flash memory. This example uses Default mode.
5. Leave WEB Host as default
6. Leave Portal Host as default
7. Leave Login Timeout as default value ‘0’
8. Leave Idle Timeout as default value ‘0’
9. Check ‘Ignore LAN’ to prevent the Captive portal from being displayed when devices are connected directly to the network via the LAN network.
NOTE: This example has this box checked
10. Change the ‘Redirecting http://’ to your chosen URL if you want to redirect the user to an external webpage
NOTE: This example will redirect users to www.google.com
11. The ‘MAC Address Whitelist’ setting allows you to specify MAC addresses of devices which you do not want to see the Captive Portal.
NOTE: This example do not use this feature
12. The ‘Download QOS’ setting allows you to set limits for the users downloads.
NOTE: There are a number of options including ‘Total Download Bandwidth’, ‘Client Basic Bandwidth’ and ‘Client Max Bandwidth’
13. The ‘Upload QOS’ setting allows you to set limits for the users uploads.
NOTE: There are a number of options including ‘Total Download Bandwidth’, ‘Client Basic Bandwidth’ and ‘Client Max Bandwidth’

14. Click ‘Save’ and wait for the Router to update.
15. The setup for “Captive Portal” is now complete
Connecting to the Siretta Router Captive Portal
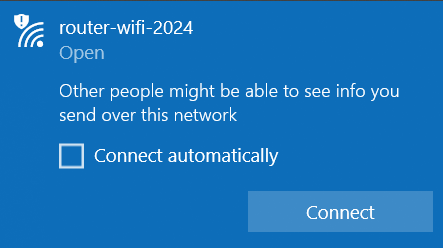
1. Any guest that wishes to connect to the Siretta Router Wi-Fi will access the SSID “router-wifi-2024”.
2. The user will then be taken to the “Captive Portal” access page where they will be presented with sliding images.
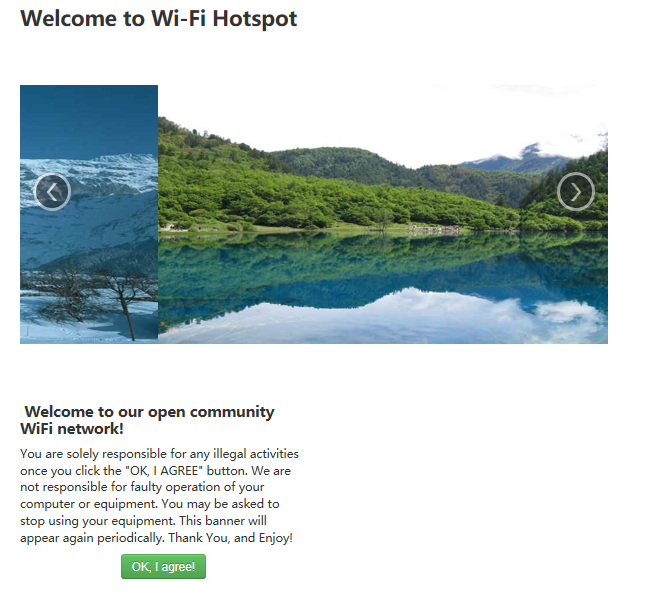
3. Once the user clicks the “OK, I agree” button, they will be redirected to the ‘Redirecting http://’ webpage.
NOTE: This example uses ‘www.google.com’ as the redirect URL
The full range of Siretta Industrial Router products can be found from the following link:
https://www.siretta.com/router-selector-tool/
Any queries please contact [email protected]
