
General Description
One major advantage of using an industrial router solution for your application is the ability to automate and manage the configuration of your devices. This can be advantageous both in the field and during device initialisation prior to a production rollout. This application note explains how to automate the device update procedure using TFTP.
Router Configuration
1) Download TFTP Server from ‘https://www.solarwinds.com/free-tools/free-tftp-server/registration‘
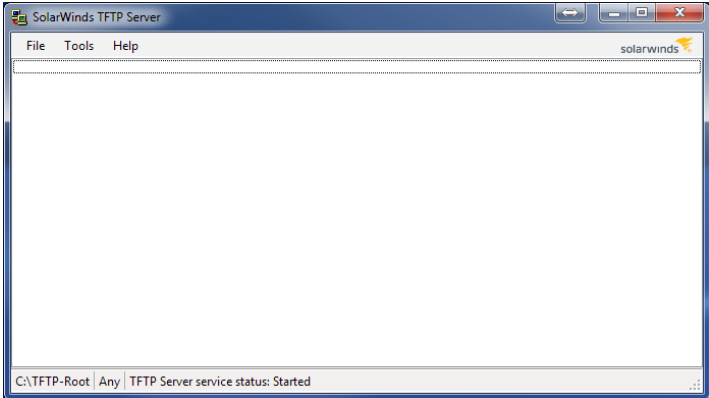
2) Install and run TFTP Server
Figure 1. Run TFTP Server
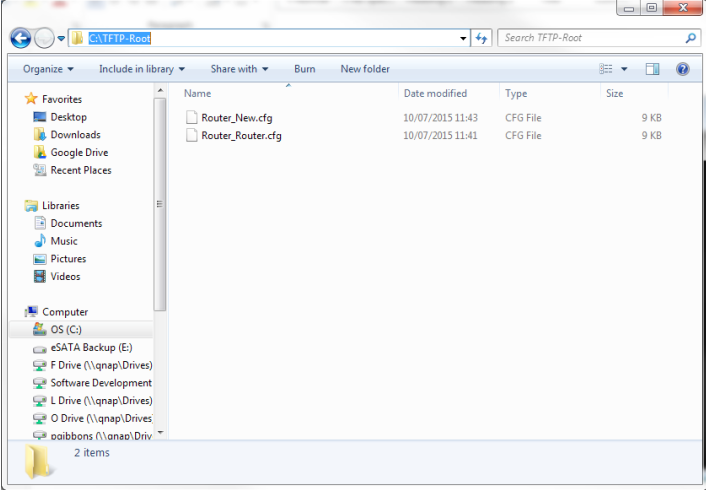
3) Copy CFG files into the TFTP Server root folder. (Use the appropriate saved .cfg file which was obtained directly from the router)
NOTE: You can save the configuration file directly from your router by going to ‘Administration’ -> ‘Configuration’. You can rename the file and then download by clicking on ‘Backup’.
Figure 2. TFTP Server root folder
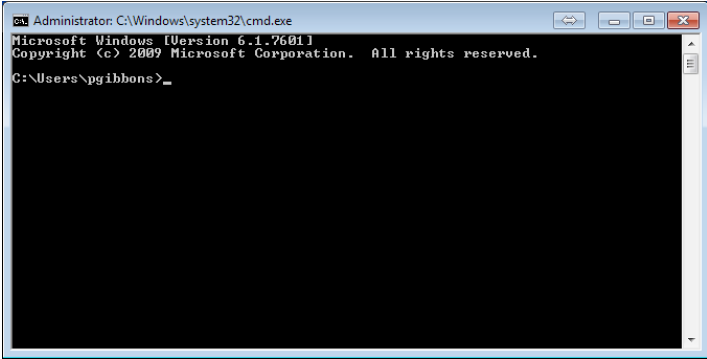
4) Open CMD prompt. (Run cmd.exe from the command line on Windows OS)
Figure 3. CMD prompt
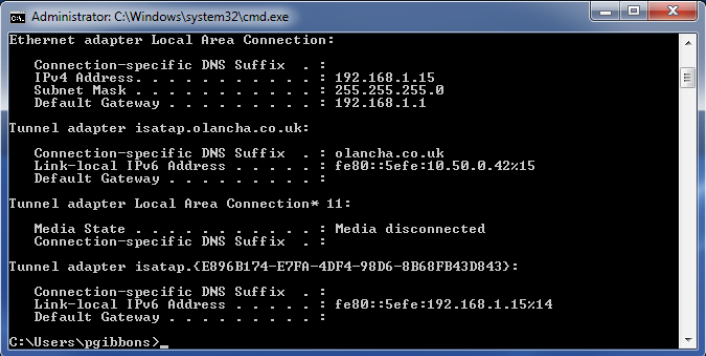
5) Determine the IP address assigned to the PC using ‘ipconfig’ (In figure 4 below, the example IP address is 192.168.1.15)
Figure 4. Determine the assigned IP address
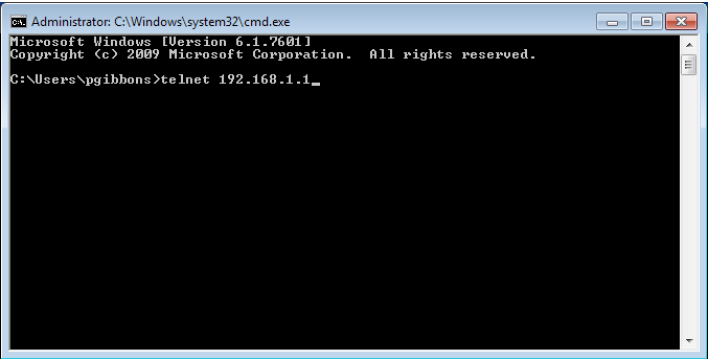
6) Start Telnet by typing the following: ‘telnet x.x.x.x’ (In figure 5 below, we use the example ‘telnet 192.168.1.1’)
NOTE: Replace x.x.x.x with the router IP address
Figure 5. Starting Telnet
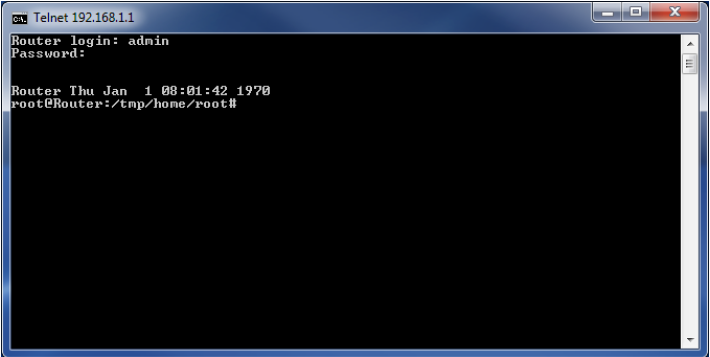
7) Enter router login and password (Default values are used below, but you should use whatever you have setup on your device)
Router login: admin
Password: admin
Figure 6. Enter login details
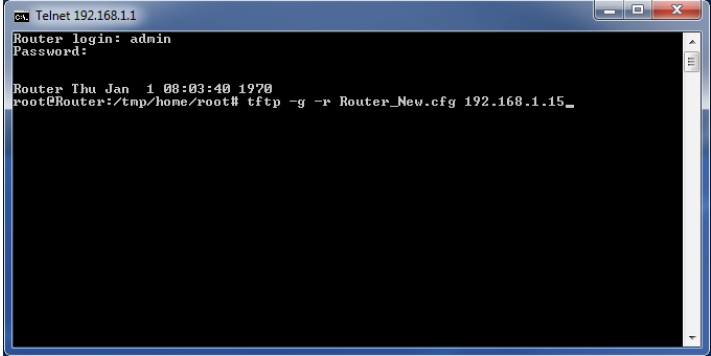
8) Initiate TFTP file transfer using the following command: ‘tftp –g –r filename.cfg x.x.x.x’
NOTE: Replace filename with the name of the config file to be transferred and replace x.x.x.x with the TFTP Sever IP address (The PC which is delivering the cfg file)
Figure 7. Initiate file transfer
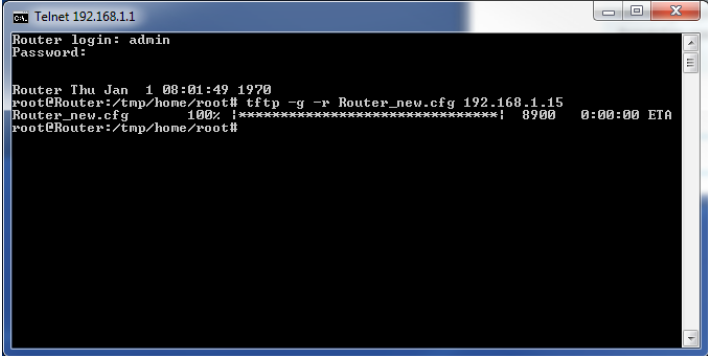
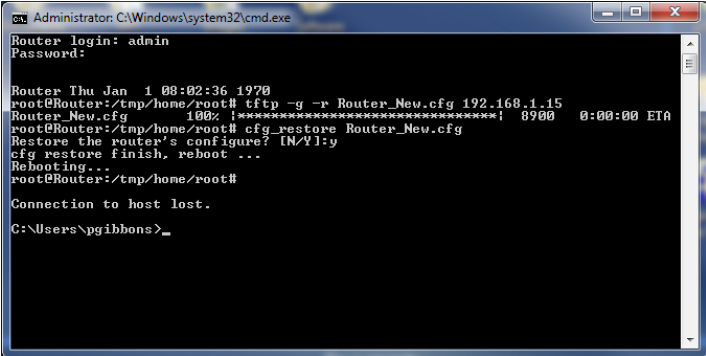
9) The router will respond with the output shown in figure 8 below, confirming successful transfer of the CFG file.
Figure 8. Successful transfer in CMD window
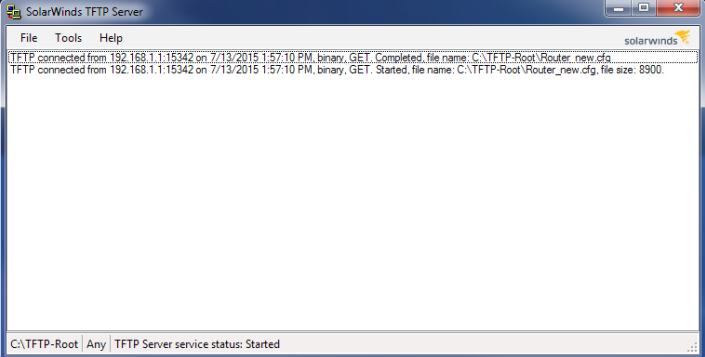
10) The TFTP Server window will confirm successful file transfer, as seen below in figure 9.
Figure 9. Successful transfer in TFTP window
11) Restore the router configuration file in the CMD prompt window using the following command:
‘cfg_restore Router_New.cfg’
Confirm router configuration type: ‘y’
Unit will confirm Reboot.
NOTE: Telnet connection will be lost when router reboots which is shown with: ‘Connection to host lost.’
Figure 10. Successful transfer in TFTP window
Definitions
Term Definition
CFG Configuration Settings File Extension
CMD Command
FTP File Transfer Protocol
IoT Internet of Things
IP Internet Protocol
M2M Machine to Machine
PC Personal Computer
TFTP Trivial File Transfer Protocol
OS Operating System
